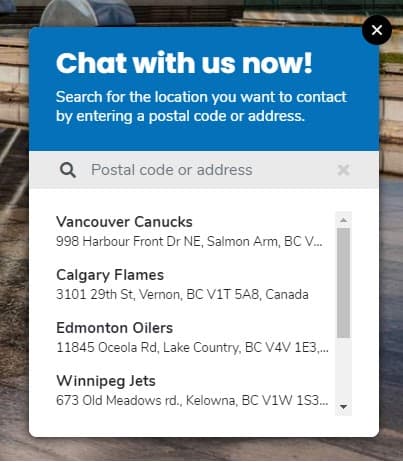
Here At SYNCRO Web Chat we developed our live chat software to ensure it works for Squarespace, and all other online website builders.
Some of the website builders out there can be difficult for some people as they’re not familiar with web development, and they may not know where to place embed code. So we have put together a step by step guide on how to easily install SYNCRO into your Squarespace website.
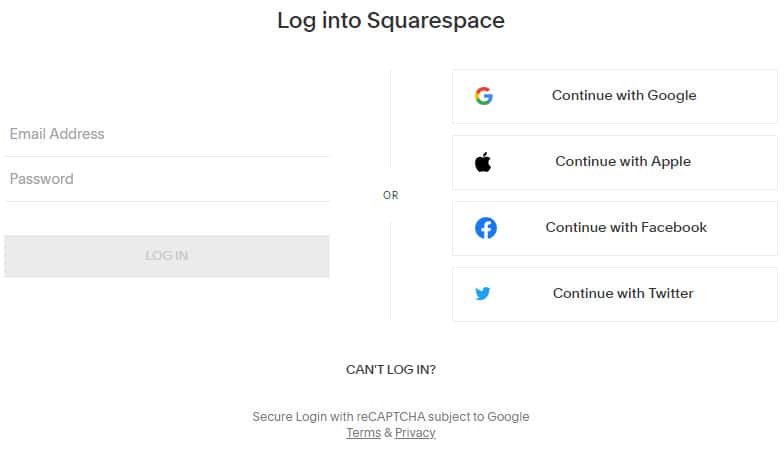
- The first thing you’ll want to do is login to your Squarespace account.

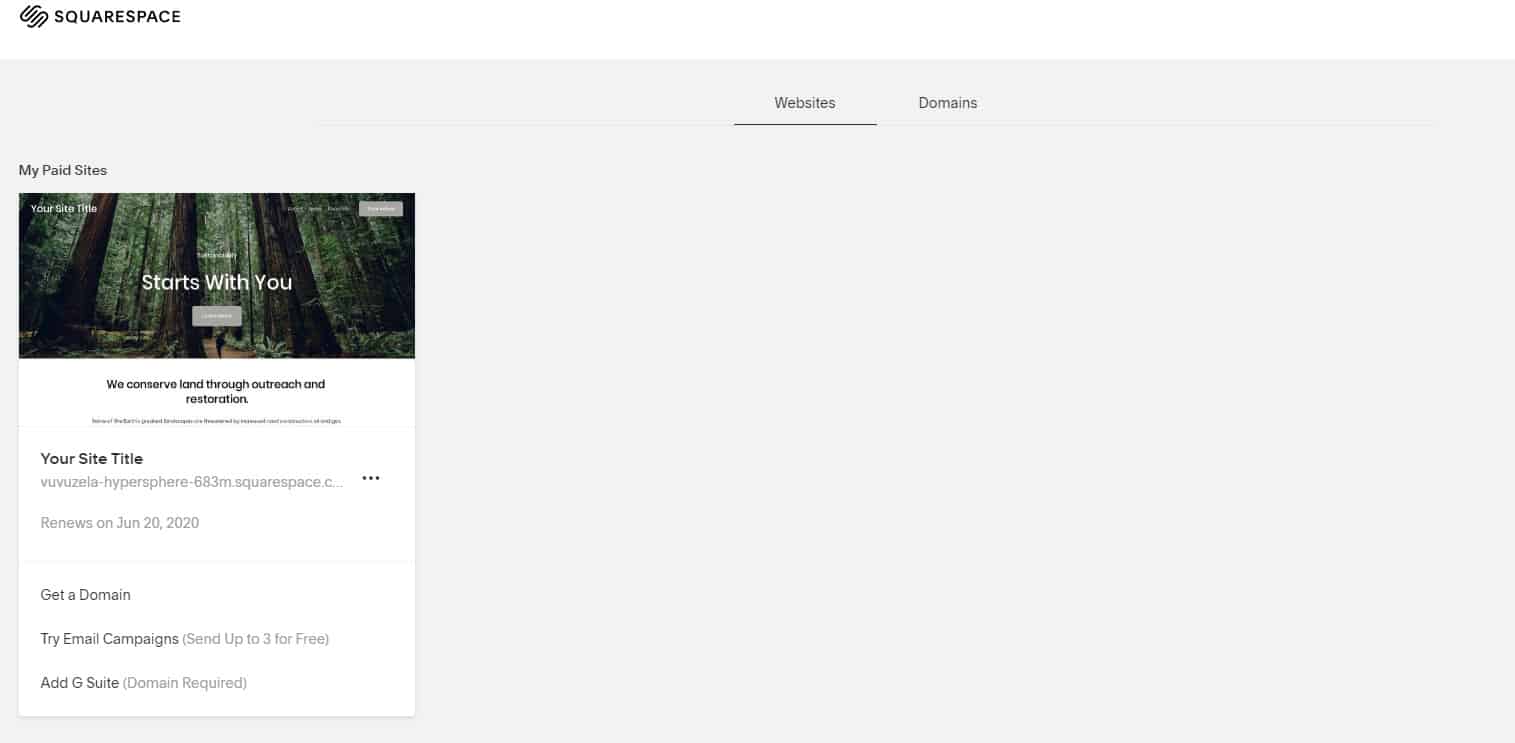
- Next you will see your website under the “Websites” section. You need to hover over your site and click “Edit.”

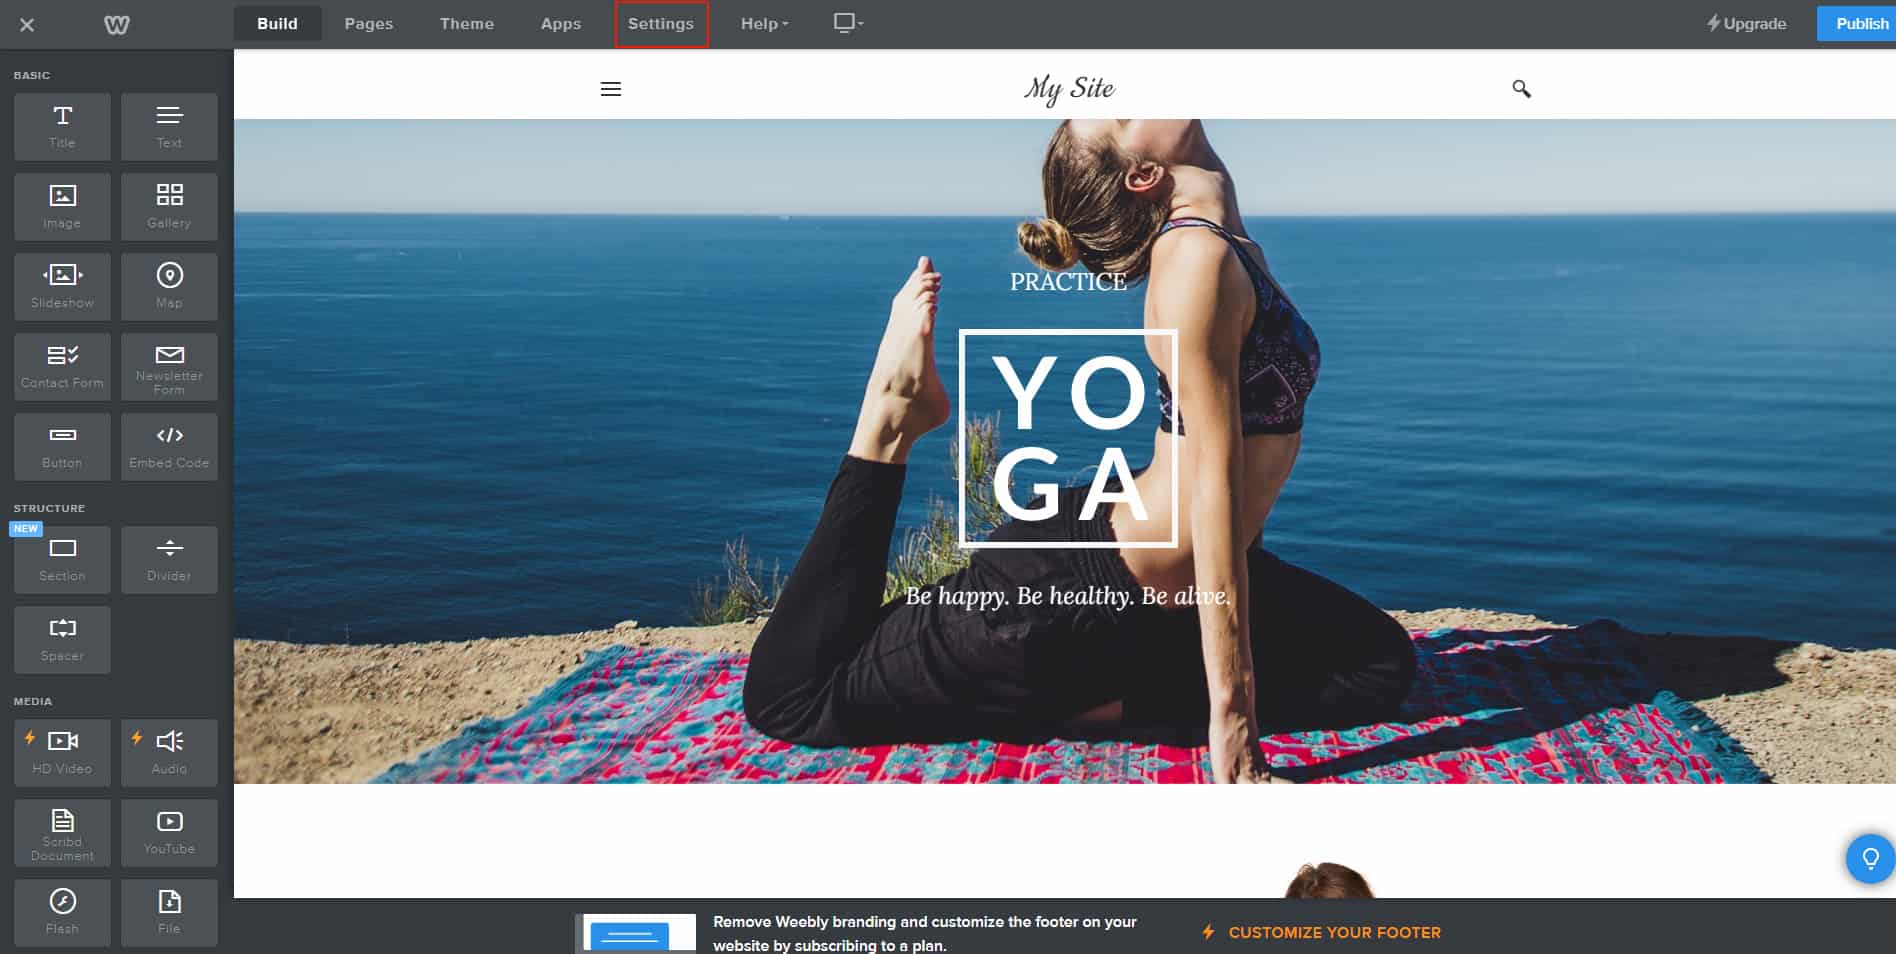
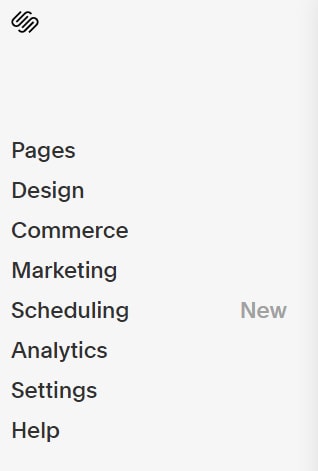
- Next you need to click on “Settings” in the left hand menu.

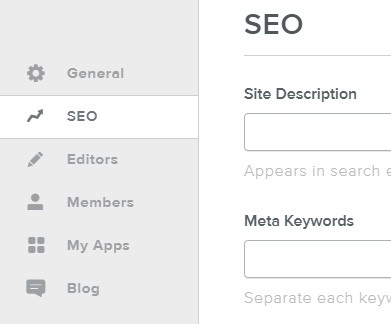
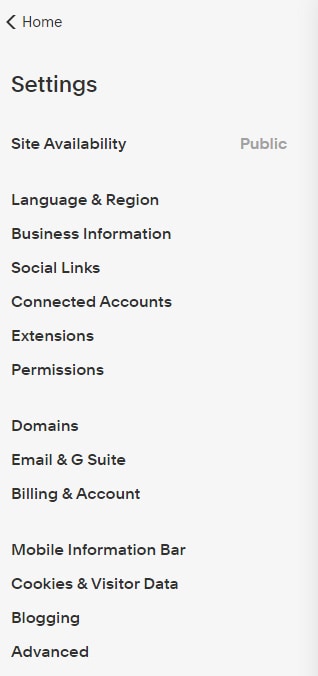
- Then click on the “Advanced” button in the next left hand menu.

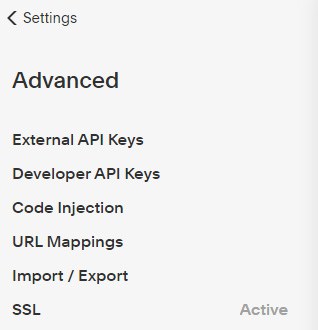
- In the next menu click on “Code Injection.”

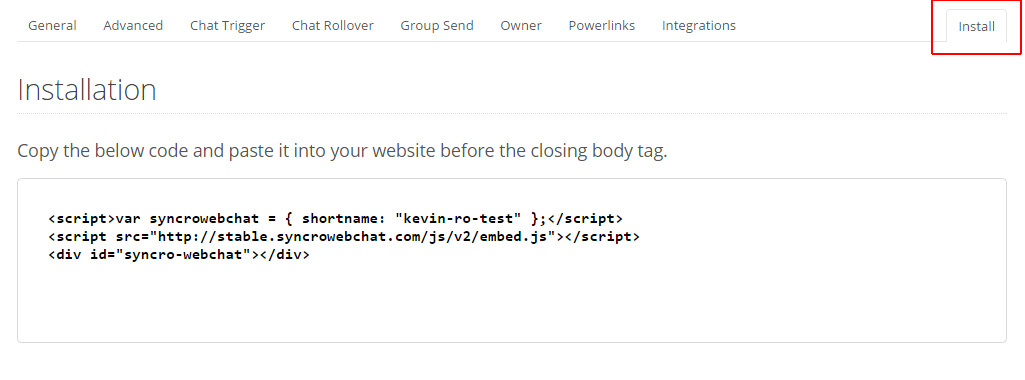
- Now you need to sign in to your SYNCRO account. We recommend doing this in another tab so that you can keep your Squarespace site open in another.


- Next click on “My Sites” in the top menu.


- Next click the “Manage” button.


- Now click on the “Settings” tab.


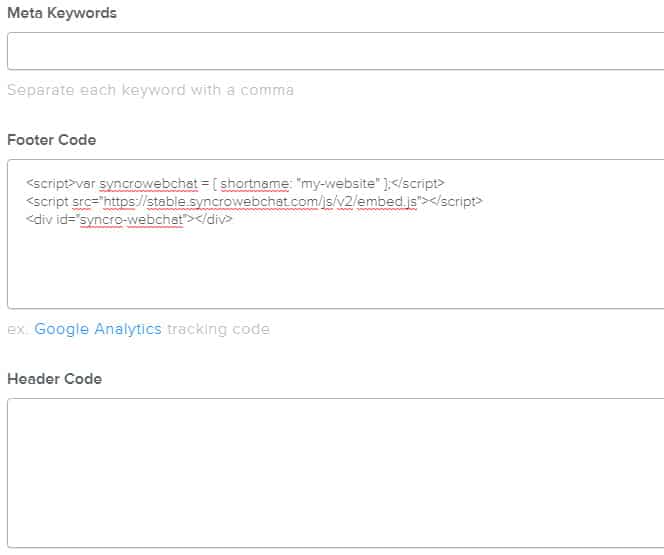
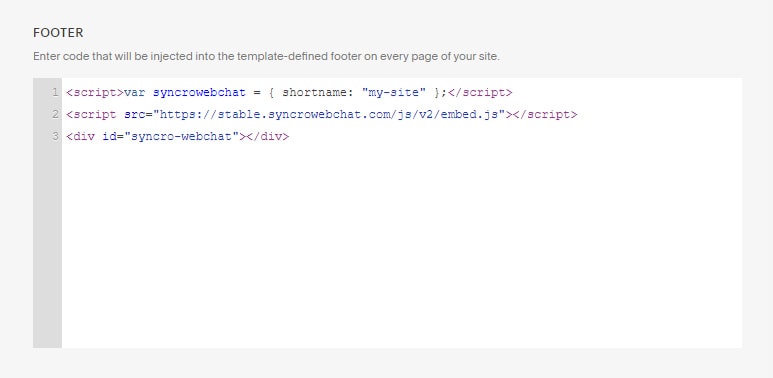
- Now click on the “Install” tab. Here is where you need to copy the SYNCRO embed code.

- Now go back to your Squarespace “Code Injection” tab and paste the SYNCRO embed code into the “Footer” field.

- Once you have pasted the code in, you just need to click the “Save” button located at the top left.
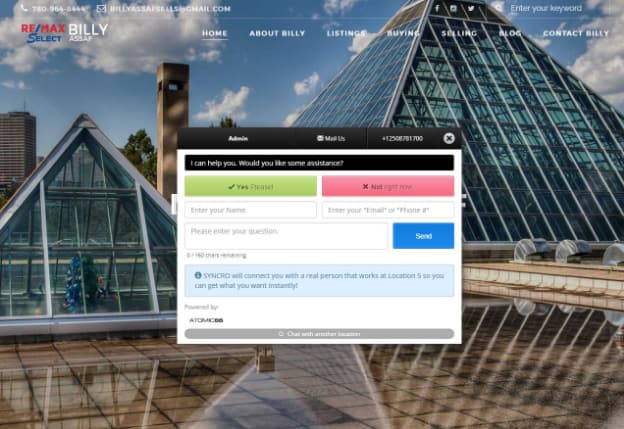
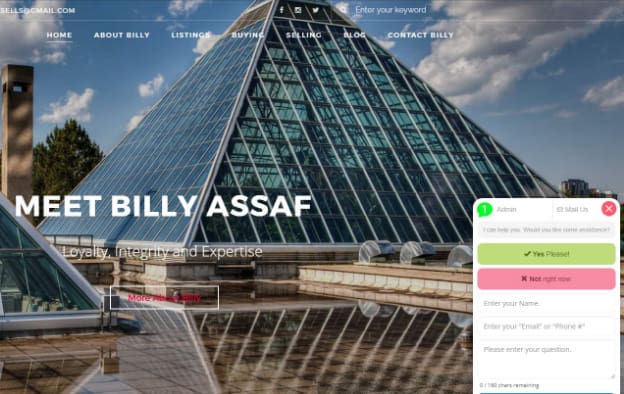
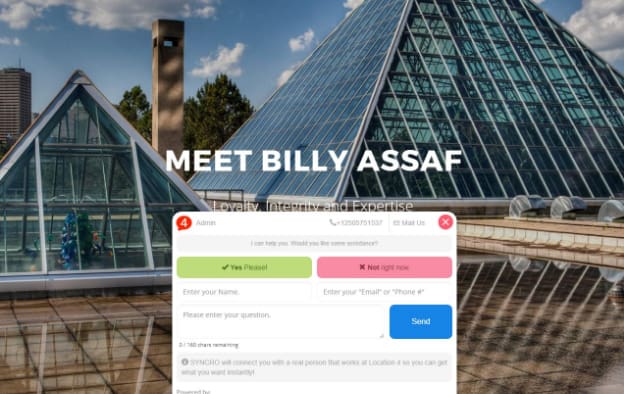
- That’s all you have to do! SYNCRO is now working on your Squarespace website.
If you would prefer to watch these steps via video, you can watch the installation video below.
So if you’re looking for a live chat software for Squarespace, or if you need any assistance installing it please don’t hesitate to contact us. If you’re new to SYNCRO click here for a free trial, or here to sign up.