
If you’re here it’s because you have a made a very smart decision and signed up for our live chat software for groups, locations, departments and more. Here are the steps you need to take to set this feature up.
- First you need to login to your SYNCRO account here https://stable.syncrowebchat.com/user/login


- Now that you’ve logged in, you’re going to add all of your locations.To do this first click on the “My Site(s)” button in the top menu, then click the “Add New” button.


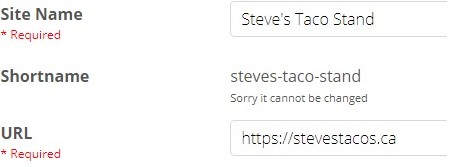
- Enter your “Site Name” which in the case of SYNCRO live chat software for groups, will be the business name of this location.You’ll also need to enter the URL of the website where you will be installing SYNCRO.

- You’ll need to fill out the fields on this next page with your contact information (Email address, mobile number, etc.) but for the purpose of efficiently explaining the Groups feature we’re going to skip this step. If you need help though you can always refer to our basic set up guide here.
- The first field you’ll need to know about is the “Chat Styles.”


When someone clicks on the location of their choice the chat window will appear. We have given you 3 different styles to choose from.Default
The first choice is our “Default” aka our OG SYNCRO design. This one’s a bit old school but still one of our most popular. This style opens the chat window right in the center of the users screen.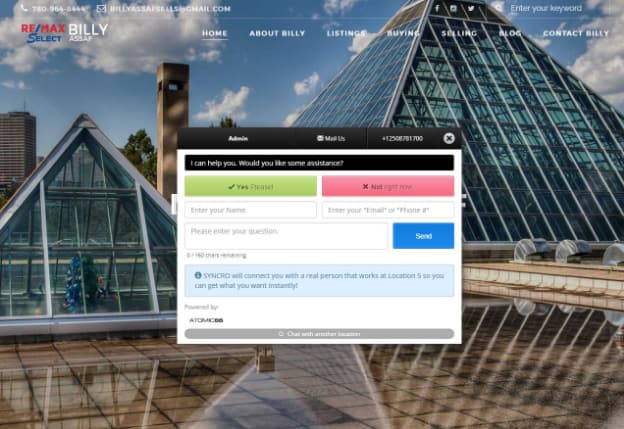

Sticky Chat
Your next choice is the “Sticky Chat” style. This style is by far our most popular style as it has a modern design, and is located at the bottom right of the users screen.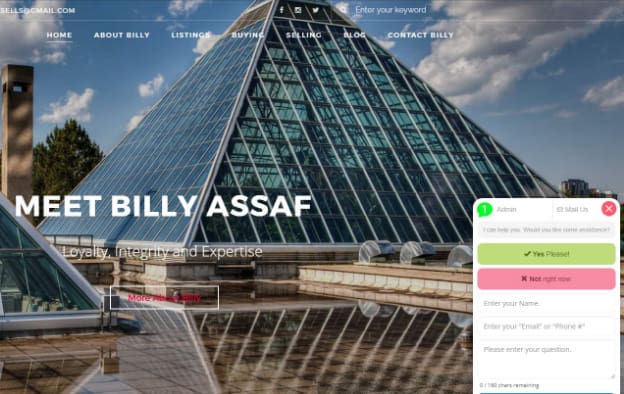

Sticky Chat (Wide)
The last style in the dropdown is “Sticky Chat (Wide).” It has the same modern design as the regular Sticky Chat but is slightly wider and is centered in the users screen.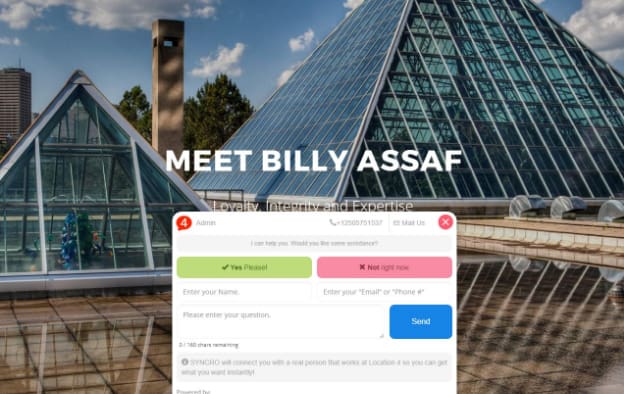
ADDING ADDRESSES TO GROUPS FOR LOCATIONS
- After you’ve selected the style of your chat window, it’s time to add your first locational address. We have made this very easy for you with our GEOLocation technology. All you need to do is fill out the address fields for your location, and click the red “click here” link. Our software will automatically find the location for you.
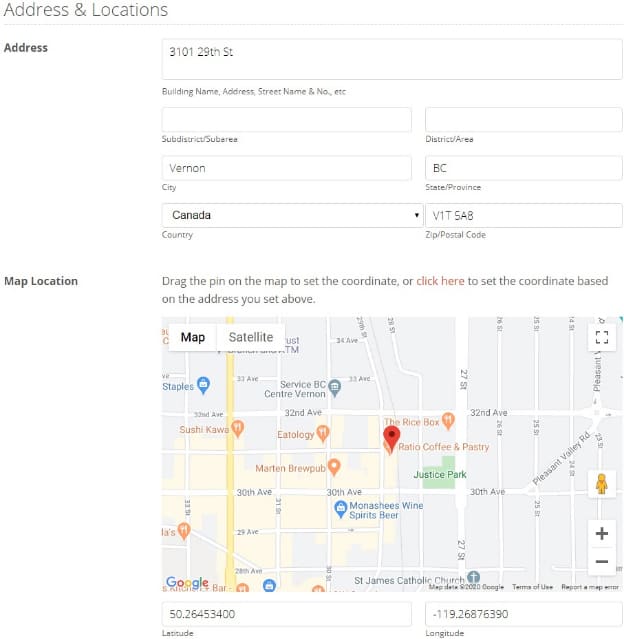

- Lastly, don’t forget to click the blue “Save Changes” button.


- Repeat the steps above for each location you would like to add by repeating the above steps.
CREATING GROUPS
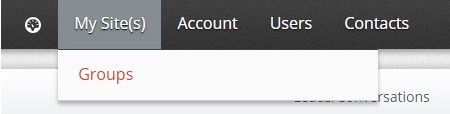
- Once you’re done adding all locations you will need to create the group. You can do this by hovering over “My Site(s)” in the top menu, and clicking on “Groups.”

- First you’ll want to add your “Group Name.” We suggest calling it something that describes your Group for easy reference.Then click your mouse inside the “Sites” field and you will see a dropdown of all the locations you just setup.Click on one to add the location.Repeat this step to add all locations to the Group.
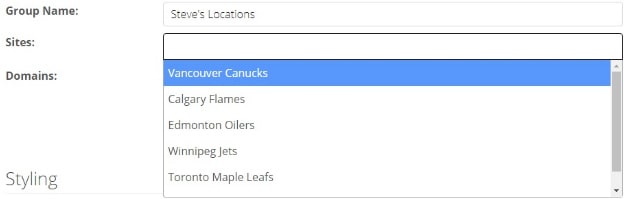

- Next enter the “Domains”where you will be installing SYNCRO.


STYLING THE GROUPS CHAT WINDOW
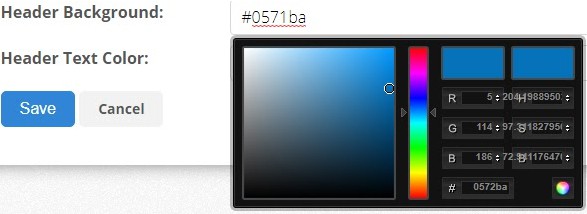
- Next you are going to choose the style of the main popup window for your SYNCRO Groups. It is always best that something like this matches the colors of your site, so we gave our users the option to customize the popup.

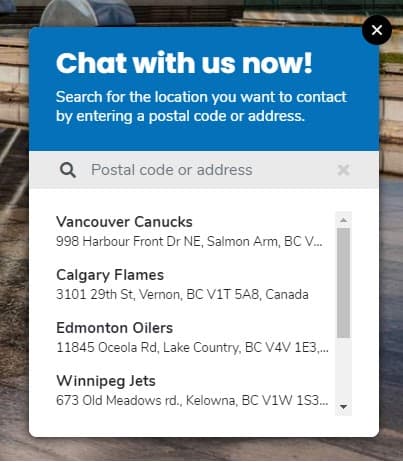
This is an example of what this particular color combination looks like on the website:

INSTALLATION
Now that you have completed the setup of your SYNCRO Group, it’s time to install it on your website.
- First you’ll need to click on the “Install” button.


- Next, copy the embed code that SYNCRO generates for you, and paste it in your website’s code directly before the closing </body> tag. Once that is done go ahead and load up your website, and your SYNCRO Group will appear!